From home decor to personal style, the allure of creating something unique and sustainable resonates deeply with individuals seeking to express their creativity. In this spirit, one transformative and accessible DIY endeavor has emerged— the art of giving old shoes a new lease on life through a DIY shoe makeover.
Assessing Your Shoe Collection
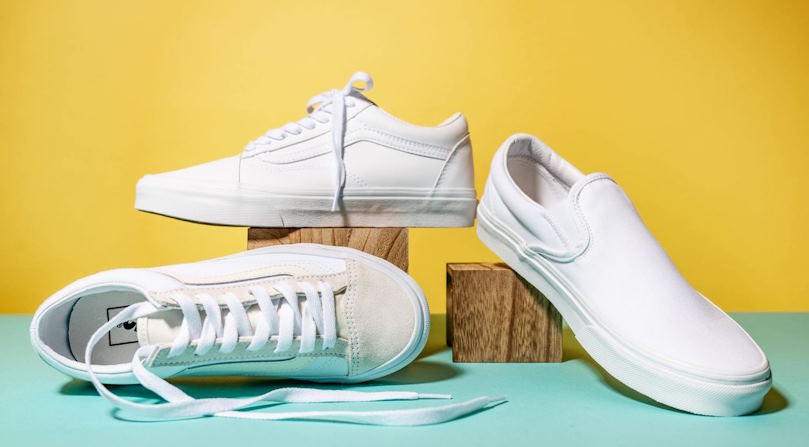
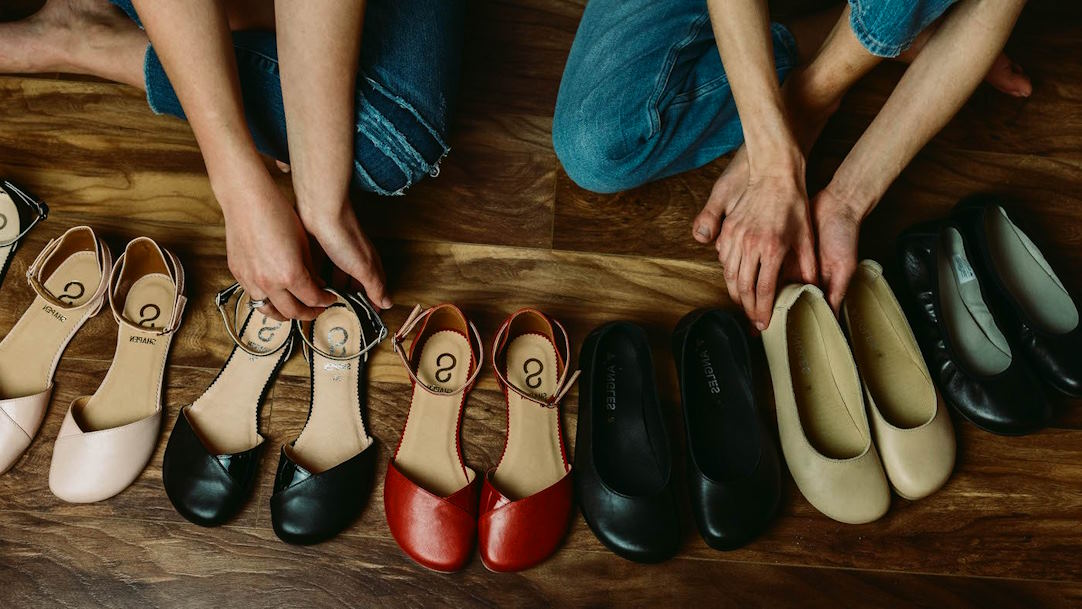
Before embarking on your DIY shoe makeover journey, take a moment to assess your shoe collection. Identify old and worn-out pairs that are begging for a transformation. Consider the various materials your shoes are made of, as different materials may require specific techniques and materials during the makeover process. Choosing the right pair for the makeover is crucial, as it sets the foundation for a successful project.
Tools and Materials
To start your DIY shoe makeover, gather the essential tools and materials. These may include sandpaper, brushes, paint, sealant, and embellishments, depending on the style you envision. If you’re on a budget, fear not—there are plenty of affordable alternatives for tools and materials that won’t compromise the quality of your makeover.
Preparing the Workspace
Creating a dedicated workspace is essential for a successful DIY project. Find a well-ventilated area with good lighting and cover surfaces to protect them from any potential mess. Ensure you have safety equipment like gloves and masks, especially if you’re working with strong adhesives or paints. Organizing your tools and materials beforehand will make the process smoother and more enjoyable.
Basic Shoe Cleaning and Repair
Before diving into the creative aspects of the makeover, give your shoes a thorough cleaning. Different materials require different cleaning techniques, so be sure to research and follow appropriate methods for your shoes. Additionally, take this opportunity to address any basic repairs—replace worn-out soles, fix loose stitches, and make sure your shoes are in good condition before proceeding.
Choosing a Makeover Style
Now comes the fun part—choosing a style for your DIY shoe makeover. Explore current fashion trends for inspiration and consider your personal style preferences. Whether you opt for vibrant colors, intricate patterns, or subtle textures, the goal is to make the shoes uniquely yours. Remember, the best makeovers reflect your personality and fashion sensibilities.
Step-by-Step Shoe Makeover Tutorial
Let’s break down the DIY shoe makeover process into manageable steps:
- Surface Preparation and Priming: Clean the shoes thoroughly and use sandpaper to roughen the surface slightly. Apply a primer to ensure better adhesion of paint and other materials.
- Painting and Color Customization: Choose high-quality paint suitable for your shoe material. Apply thin, even coats, allowing each layer to dry before adding the next. Experiment with colors and patterns to achieve your desired look.
- Adding Embellishments, Patterns, or Textures: Get creative with embellishments such as studs, rhinestones, or fabric patches. Experiment with painting patterns or adding textures like splatter effects or geometric designs. This is where your unique style can truly shine.
- Sealing and Protecting: Once satisfied with the makeover, seal the shoes with a clear sealant to protect the design and enhance durability. This step ensures your DIY creation stands the test of time.
Tips for Specific Shoe Types
Different shoe types may require specific considerations during the makeover:
- Sneakers and Athletic Shoes: Consider the flexibility and breathability of materials. Use fabric paint for sneakers and experiment with sporty designs.
- High Heels and Formal Shoes: Pay attention to intricate details, and choose elegant colors or metallic finishes. Consider adding lace, bows, or other sophisticated embellishments.
- Boots and Casual Shoes: Explore earthy tones and rugged textures for boots. Casual shoes can handle a variety of styles, from bohemian to minimalist, depending on your taste.
Troubleshooting Common Issues
Mistakes are part of any creative process, and DIY shoe makeovers are no exception. If you encounter issues like paint smudges or adhesion problems, don’t panic. Research and implement solutions, such as using acetone to remove paint smudges or sanding and re-priming for better adhesion.
Showcasing Your DIY Masterpiece
Capture the transformation with appealing before-and-after photos. Share your creations on social media platforms, using relevant hashtags to connect with the DIY community. Encourage others to embrace the joy of transforming old shoes and share their experiences.